Before dealing with troubles related to DNS Cache, one needs to understand how DNS Cache works. DNS Cache is simply a database, maintained by a computer’s operating system. The database includes the hostname and IP Addresses of the website that you have visited. So, the role of DNS caching involves your operating system or web browser capturing recently visited IP Address and saving them in a database. Since it caches the webpage, the DNS cache ensures faster webpage loading speed.
How To Clear or Flush DNS Cache on Windows 10
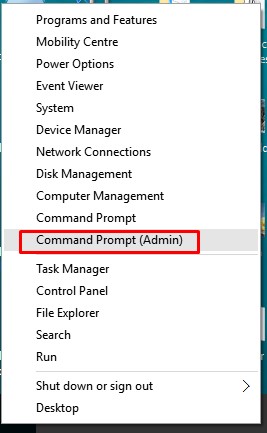
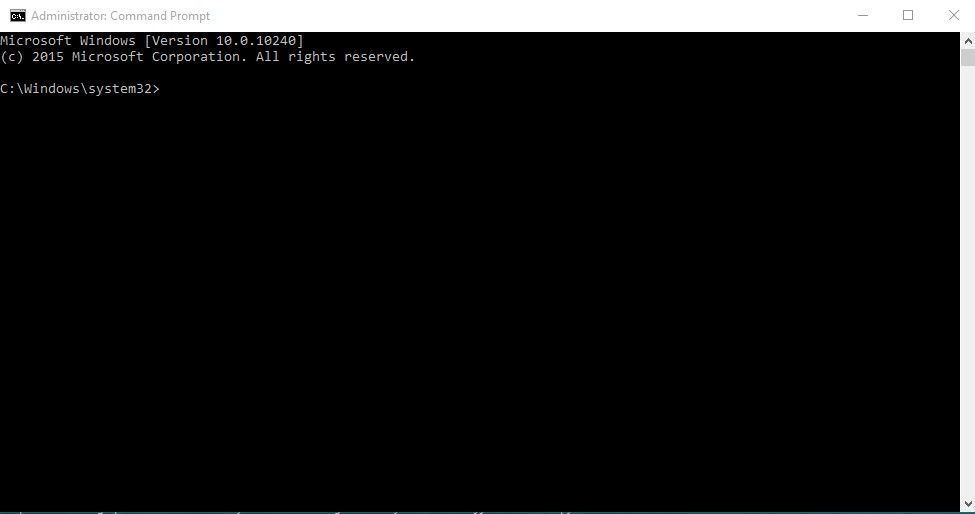
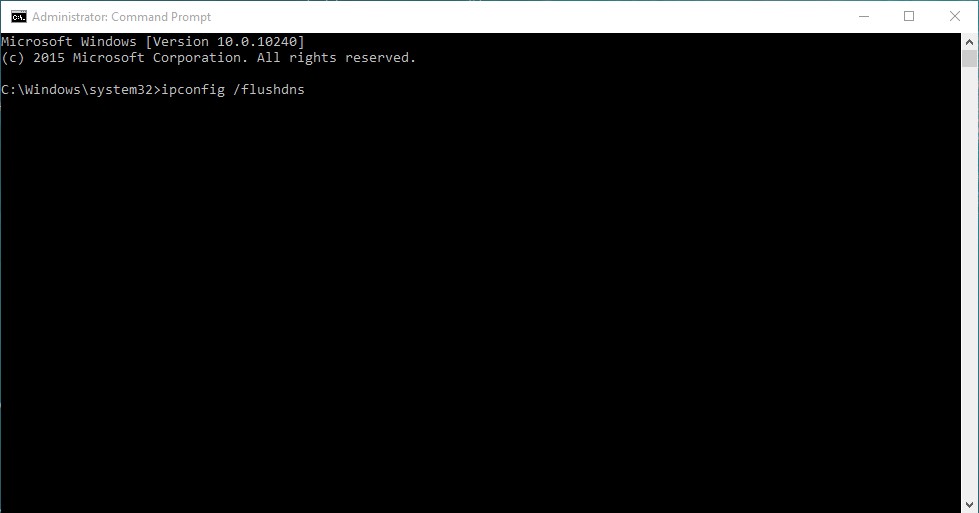
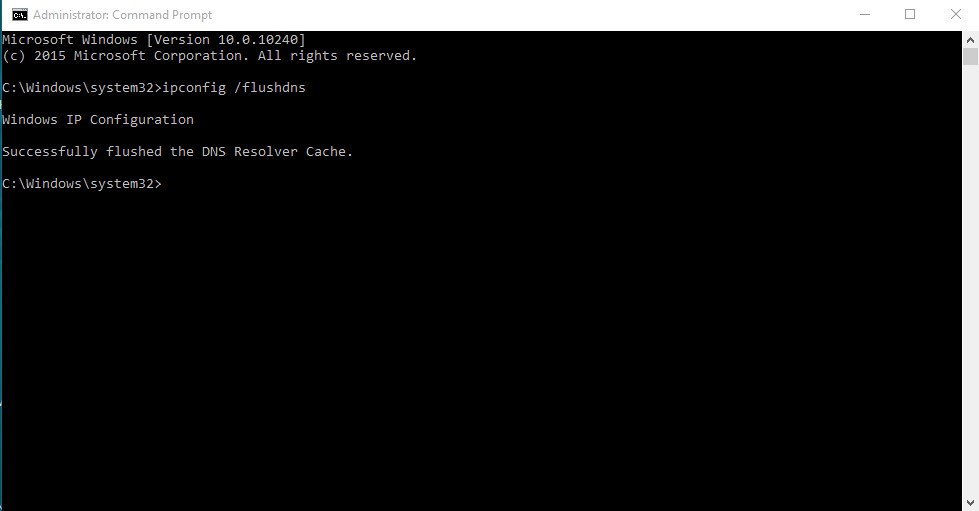
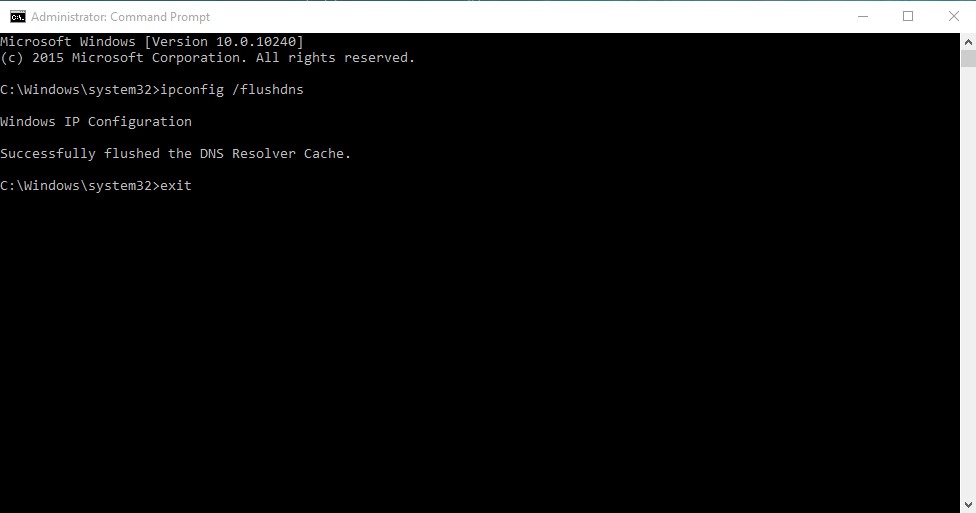
Just like every other cache files, DNS Cache is also prone to corruption. Over time, DNS Cache can become outdated and create internet connectivity issues. To deal with such issues, one needs to flush or clear DNS Cache in Windows 10. So, now that you are well aware of DNS Cache and how it works. Let’s know how to flush or clear DNS cache in Windows 10 computer in 2020. Step 1. First of all, right-click on the ‘Start Menu’ and select ‘Command Prompt (Admin)’ Step 2. This will open the Command Prompt with administrator access. Step 3. On the Command Prompt Window, paste the following command and press Enter. ipconfig /flushdns Step 4. Now, wait until the process completes. Once done, you will see a message ‘Successfully flushed the DNS Resolver Cache’ Step 5. Once done, type in ‘exit’ on the command prompt to close it. That’s it! You are done. This is how you can clear the DNS cache on Windows 10 computer. So, this article is all about how to flush or clear DNS cache in Windows 10 computers. I hope this article helped you! Share it with your friends also.
