With the Task Manager, users can quickly analyze RAM usage, Disk Usage, Internet Usage, etc. Also, it can be used to force close unresponsive apps. Apart from that, users can even run specific tasks from the Task Manager. Although Task Manager is a handy tool, sometimes, you may want to disable access to prevent users from restarting certain programs. If you are not sure all the users on your device should have access to the Task Manager, it’s best to disable it. Also Read: How to Fully Customize the Windows 10 Taskbar
Steps to Disable Task Manager in Windows 10 PC
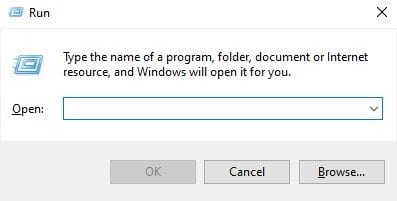
In this article, we will share a detailed guide on how to disable Task Manager on Windows 10 computer. Just follow some of the simple steps given below to disable the Task Manager on your system. Step 1. First of all, press the Windows Key + R button to open the RUN dialog box.
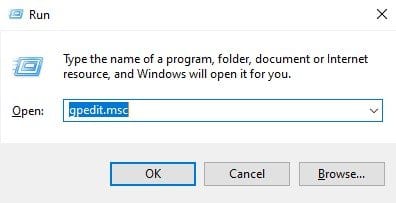
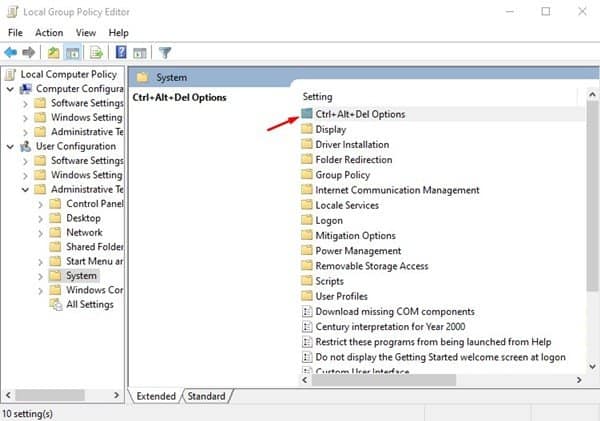
Step 2. On the RUN dialog box, enter ‘gpedit.msc‘ and press the Enter button.
Step 3. This will open the Local Group Policy editor. Step 4. Now, navigate to the following path – User Configuration > Administrative Templates > System > Ctrl + Alt + Del Options
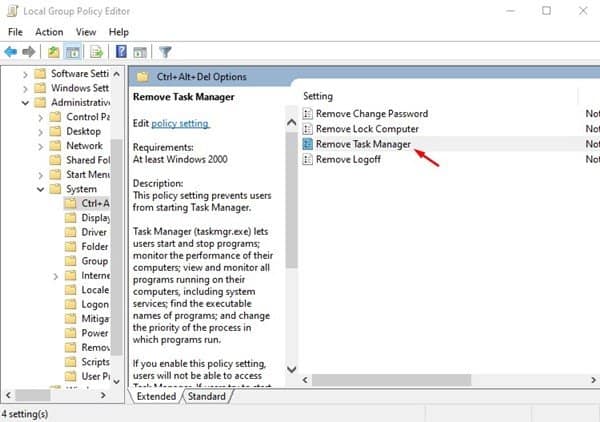
Step 5. On the right pane, double click on the ‘Remove Task Manager’ option.
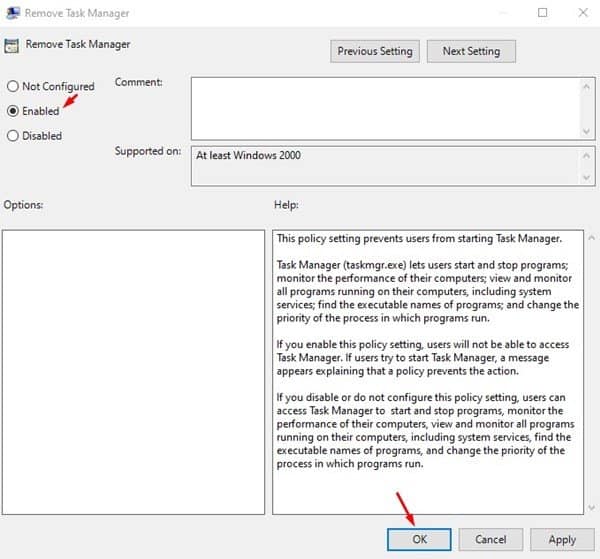
Step 6. On the next Window, select ‘Enabled’ and click on the ‘Ok’ button.
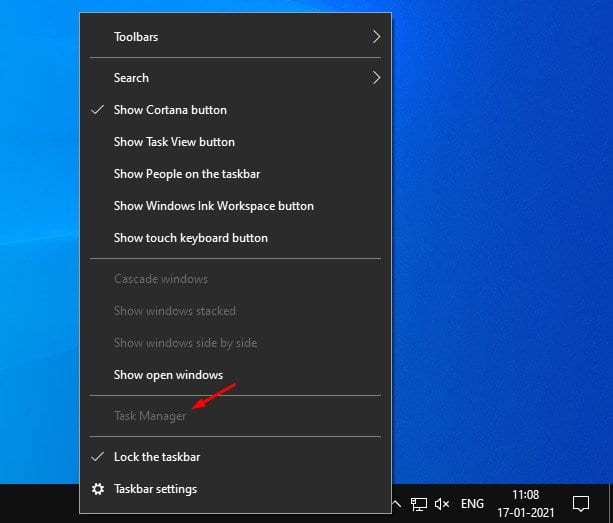
Step 7. The Task Manager will be no longer available. The Taskbar option to open the Task Manager will also be disabled along with the keyboard shortcuts.
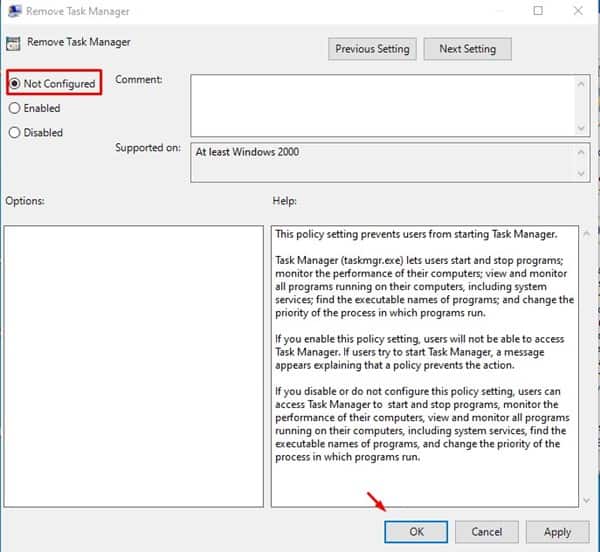
Step 8. If you wish to enable the Task Manager, select ‘Not Configured’ and then on ‘Ok’ on Step no. 6. Once done, you will be able to use the Task Manager again.
That’s it! You are done. This is how you can disable Task Manager on Windows 10 computer. So, this article is all about how to disable Task Manager in Windows 10 operating system. I hope this article helped you! Please share it with your friends also. If you have any doubts related to this, let us know in the comment box below.
