Recently, PUBG received a big update, which has triggered lots of errors. Lots of PUBG Players have reported that they are getting the ‘Servers Too Busy Please Try Again Later’ error message.
What is ‘Server Too Busy Please Try Again Later’ error?
Well, the error message itself says a lot about the problem. It clearly states that the servers were too busy to start a game. Users were getting this error while entering into a match. So, if you are also getting the ‘Servers are too busy’ error message on PUBG, then you are reading the right article. In this article, we are going to share a few best methods to fix server errors of PUBG.
How To Fix PUBG ‘Servers Are Too Busy’ Error?
Below, we have discussed a few best methods to fix Servers are too busy error message on PUBG. So, let’s check out how to fix PUBG Servers are a too busy error message 2020.
1. Check whether the servers were under maintenance
If you have been playing PUBG for a while, then you might know that the game receives frequent updates. To push updates, PUBG Developers put the servers in the maintenance mode. So, if that was the issue, then you need to wait for a few hours until the maintenance time ends. You can check on Twitter or Reddit for any ongoing maintenance.
2. Change Your Location
Well, if you are playing the game in any particular server and getting the error message, then there are higher chances that more players from the same area were playing the game. PUBG servers were designed in a way that can only some amounts of players at a time. It the number of players exceeds the limit, it will show errors like ‘Servers are too busy’. In that case, you need to change the server location and give a try.
3. Reset DNS Configuration
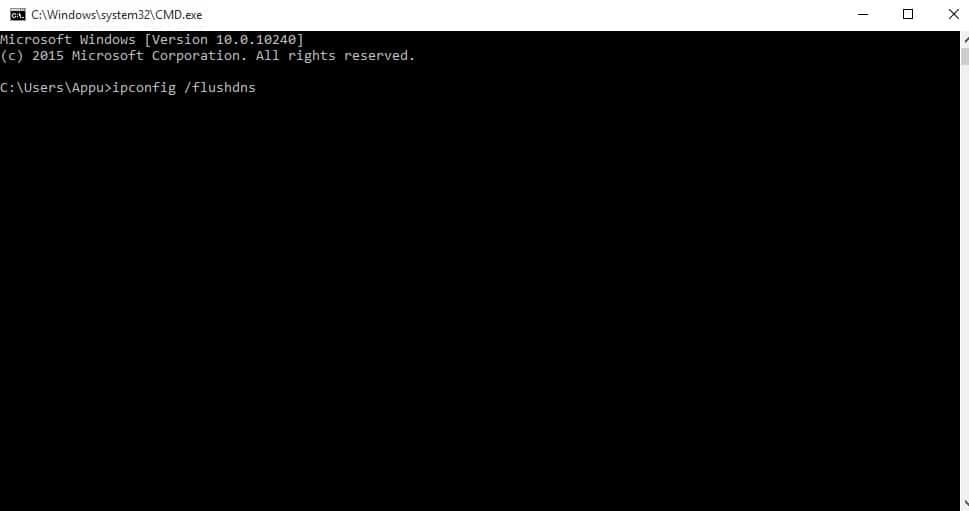
If the DNS Configuration of your PC is corrupted, then it’s mandatory to get errors while playing online games. So, in this method, we are going to execute a few commands in the command prompt to refresh the DNS configuration. Step 1. First of all, press Windows Key + R on your keyboard to open the Run dialog box. Step 2. On the RUN Dialog box, type in ‘CMD’ and hit enter. Step 3. Now on the Command Prompt Window, enter the following commands – ipconfig /flushdns netsh int ipv4 reset netsh int ipv6 reset netsh winsock reset ipconfig/ registerdns That’s it! You are done! Now just restart your computer to fix online game errors.
4. Change IP Configurations
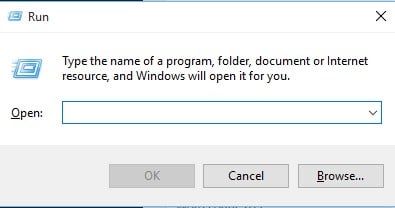
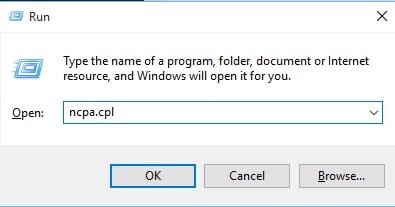
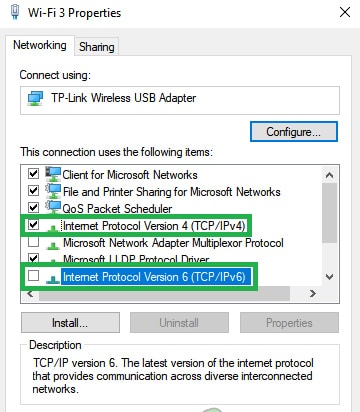
Sometimes users also get the PUBG ‘Servers are too busy’ error message due to wrong IP configuration. So, in this method, we are going to change certain IP settings to fix the PUBG error message. Step 1. First of all, press Windows Key + R. This will open up the RUN dialog box. Step 2. On the Run dialog box, type in ‘ncpa.cpl’ and press enter. Step 3. Right-click on the connected network adapter and select ‘Properties.’ Step 4. Uncheck the ‘Internet Protocol Version 6 (TCP/IPV6)’ and check the ‘Internet Protocol Version 4 (TCP/IPV4)’ That’s it! You are done. This is how you can change IP Configurations to fix PUBG Server errors. So, these are some of the best methods to fix PUBG servers are too busy error message. I hope this article helped you! Share it with your friends also. If you know any other method to fix the error, let us know in the comment box below.